Chocolate Pomegranate Bars

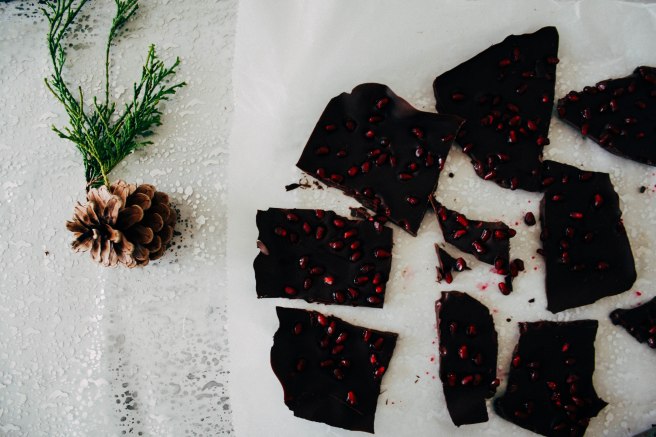
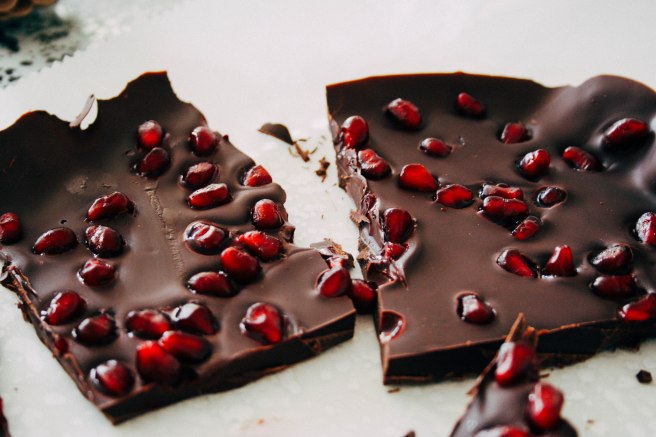
This is probably one of the best, easiest and most delicious recipes ever! And it makes an absolutely great present for New Years! Wherever you go tonight to celebrate, just make this and offer it to everybody, they will love it. Not only for its taste but also for its simplicity and meaning. Pomegranate is the symbol of good fortune and fertility and is the best present to celebrate a new year and a new beginning. All you need is some dark chocolate and pomegranate seeds! Melt it, spread it on a pan, sprinkle the seeds and with some pretty wrapping paper, a loving ‘thank you’ message and a great deal of good will, you have the perfect New Years Day gift.


choco pomegranate bars-16 choco pomegranate bars-9

Equipment: baking pan, wrapping paper, parchment paper, bain-marie (a pot full of water and a plate/bowl on top where the chocolate melts)

Prep. Time approximately 1 hour and 20 minutes (1 hour is for it to cool), Serves up to 10 people

Ingredients
500 gr dark chocolate
70 gr pomegranate seeds

choco pomegranate bars-3 choco pomegranate bars-7

choco pomegranate bars-13

Method
Melt the chocolate in bain-marie in very low heat. Take a baking pan and cover it with parchment paper. Spread the chocolate evenly to the whole surface. Let it cool for a bit and sprinkle the pomegranate seeds. I use frozen ones I keep for salads or desserts. Put the pan in the fridge and cool for 1 hour or more if possible.

Take the pan out and break the chocolate randomly. Take some wrapping paper of your choice, some parchment paper and wrap it up like a present. Keep it in the fridge. For a personal touch, take small cartons and write your wishes for every single person separately.

And don’t forget to have a great time and a Happy New Year!

choco pomegranate bars-12 choco pomegranate bars-14 choco pomegranate bars-15

Rosemary Chicken and 3 Veggie Puree

This is a recipe inspired by a television show I used to watch, slightly changed to our Christmas needs! This year’s Christmas we spent it cooking secretly for each other the whole day. So our house was full of aromas and smells of appetizers, main dishes and desserts. We had a blast! Because you only need good food, good alcohol and somebody to love you!

chicken-10

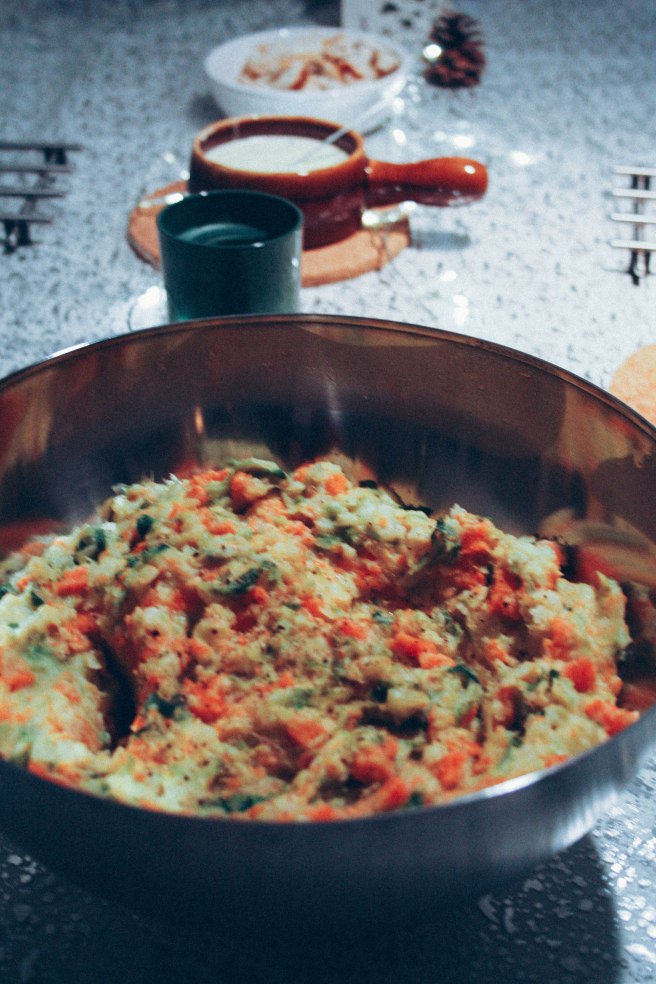
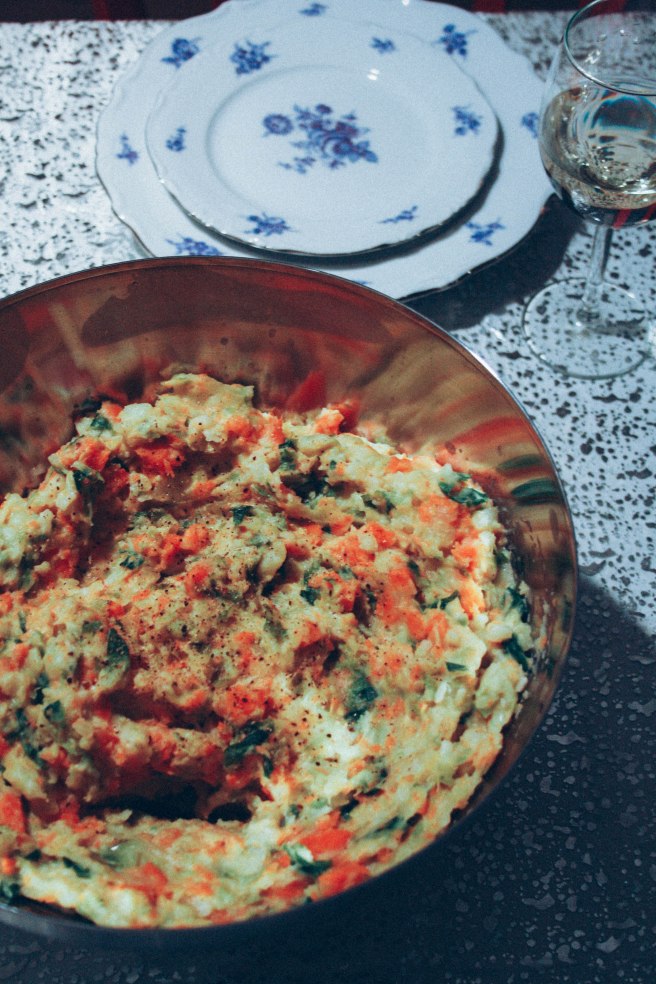
So this rosemary chicken is actually prepared and cooked in the normal barbecue suvlaki way. You just push the chicken pieces to the rosemary sticks and along with a sweet & sour marinade, a delicious potato-carrot-Brussels sprout puree you have a great dish! Not only for Christmas but for every time you feel creating something really special.

What did you eat this Christmas? Tell me on the comments below!


chicken-6

Equipment: mortar & pestle, a potato masher, baking pan & parchment paper, frying pan

Prep. Time:1 hour and 30 min, Serves up to 5.

Ingredients
for the chicken
500gr chicken breast
8-9 whole fresh rosemary sticks
1 biological orange zest and juice
3 cloves of garlic
4-5 tbsp olive oil
sage
salt
pepper
some chicken spice
2 tbsp honey
8-9 pieces of parmaham
some extra rosemary

chicken-4 chicken

for the puree
5 big potatoes
2 big carrots
300gr Brussels sprouts
2 tbsp butter
some milk
some Greek Yogurt
salt & pepper

Method
Cut the chicken in 3 cm pieces and push each piece into a rosemary stick, like making a suvlaki on a wooden stick. In a mortar (I use one made of stone) smash with the pestle the sage, rosemary, salt and pepper. Add the peeled and already smashed garlic, the zest of the orange, its whole juice, the olive oil and the chicken spice. Smash freely till all ingredients become thin and mixed.

On a baking pan, already covered with parchment paper, place the chicken – rosemary sticks and rub the marinade on every piece, till everything is nicely coated. Add the honey on top and wrap every stick with a piece of ham. Put it in the oven in 220C for 40 minutes till golden brown.

Now it is time for the puree. Peel the potatoes and the carrots, wash them and cut them in chunks. Boil them for about 20 minutes. Do the same with the Brussels sprouts. On a big frying pan add the butter and as soon as the pan is hot enough add the potatoes and the carrots. Smash them with the potato masher till pureed. Sprinkle generously with salt and pepper.

Add the Brussels sprouts. This will take a while since it is quite tough to smash everything on a frying pan. Keep trying till the vegetable puree is smooth. Add some milk if it is too dry and some Greek yogurt for extra taste. Do this for about 15 minutes.

Serve the rosemary chicken with the vegetable puree and some good wine.

Enjoy!

chicken-7 chicken-8 chicken-9

Blueberry Tart

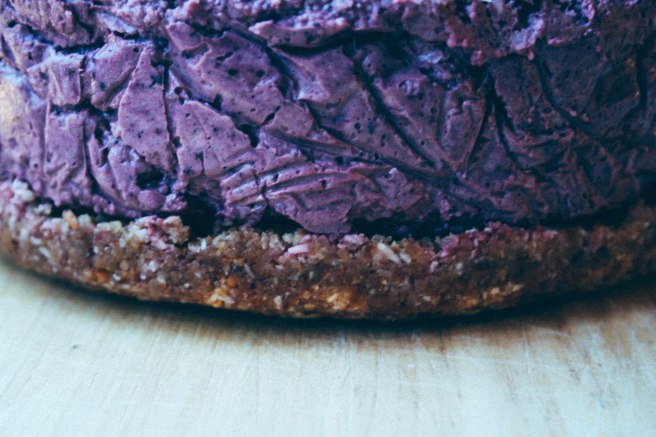
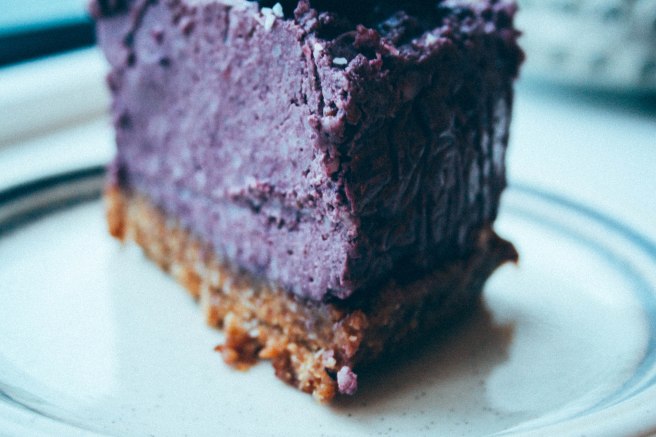
Gluten-free and super delicious vegan tart, perfect for Christmas! And super super healthy. Finding fresh blueberries and blackberries might be hard at this time of year, but you can always use frozen ones. They still bring the same result. This tart is dairy-free, contains no sugar, no eggs, is gluten-free and it still tastes heavenly! One of the magic ingredients is the agave syrup, a natural ingredient sweeter than honey, that fits magnificently with the fresh lemon juice. You can always adjust those two in this recipe according to your own taste.

bluebbery taart-24

Tip: Carefully open the spring-form, as soon as the tart has been cooled enough, and remove the clingfilm. Transfer to a tray – carefully because it is quite heavy – and keep it there. You can keep it for 4-5 days in the fridge. It is better to consume it as soon as possible.


Prep. Time 1 hour – 6 hour to cool, Serves up to 12 people

Equipment: 20cm spring-form, clingfilm, cooking machine, spatula, tray

bluebbery taart-2    bluebbery taart-5    bluebbery taart-6

Ingredients
for the base:
200gr pitted dates
200gr almonds
30gr grated coconut
1 teaspoon water

for the tart filling:
2 biological lemons (zest and juice)
450gr unroasted cashew nuts
400gr blueberries
200gr blackberries
2, 4 deciliter agave syrup
400gr coconut oil
extra blueberries & blackberries for garnish

bluebbery taart-10 bluebbery taart-15 bluebbery taart-9

Method
Take the spring-form and ‘dress’ it with clingfilm, so that it will be easier for the tart to get out.

For the base,; put the dates, almonds and coconut in the cooking machine till they become crumbs. Add the teaspoon of water and let it be combined. Put the base into the form and work it flat till it covers evenly the whole surface of the form. Put it in the fridge.

Clean the cooking machine and wipe it dry so that it will be ready to use for the tart filling. Grate the zest of the two lemons and squeeze their juice out. Put the lemon juice along with the cashew nuts in the cooking machine and combine till it becomes a smooth paste.

Add in the lemon zest, the blueberries and the blackberries. Add the agave syrup and slowly the coconut oil. Combine everything till they become smooth. It is better to do it in 2 doses, because of its quantity and weight.

Taste if it needs more lemon juice or agave syrup according to your needs. Put carefully the filling into the form, on top of the base. Spread it good and let it cool for about 6 hours or better overnight. Garnish with some extra blueberries, blackberries and coconut.

Enjoy!

bluebbery taart-8    bluebbery taart-23    bluebbery taart-25 bluebbery taart-26 bluebbery taart-28 bluebbery taart-31

Stewed Beef with Leeks in the Oven

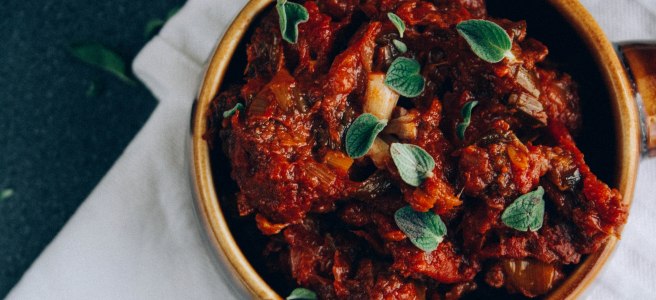
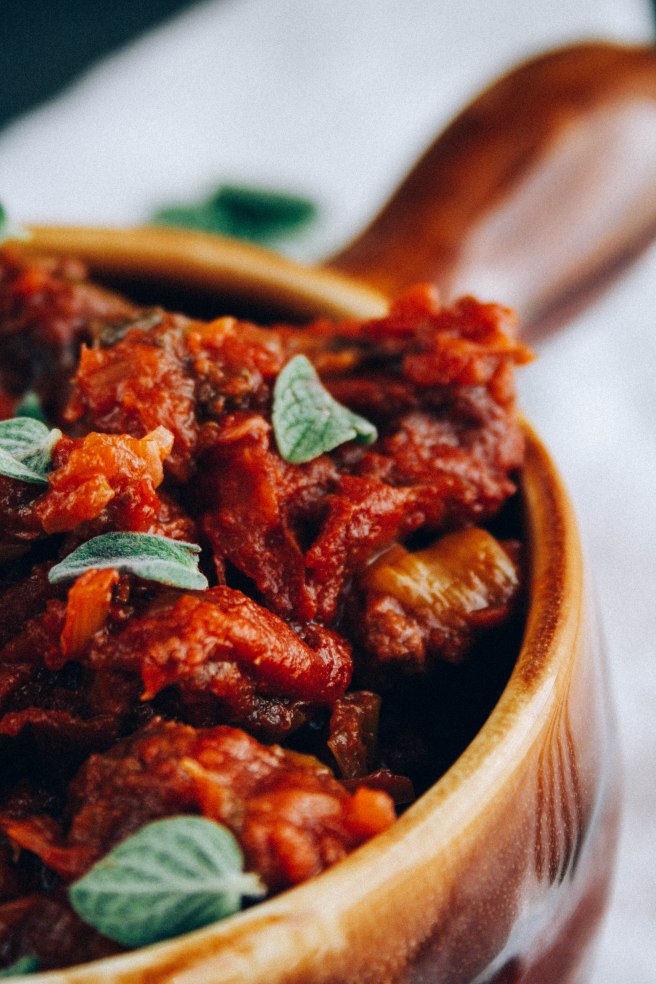
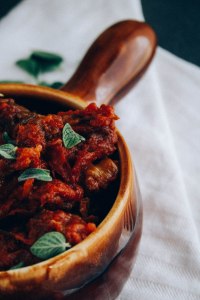
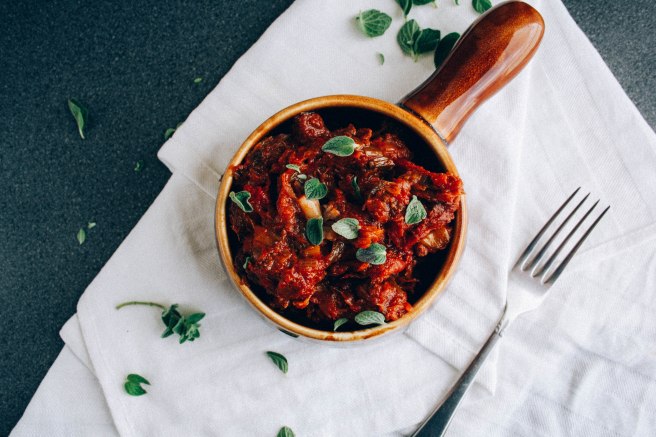
Traditional Greek food you can eat all year round! Juicy meat combined with leeks, a very underestimated vegetable. I remember when I was young, my brother and sister hated this food, but I never understood why. It is so tasteful and cozy!! Remember to check often the water in the pan, so the meat will not be dry. But still do not add too much. At the end you will need it to be left with a bit of water. 😀

Beef &Leak-19


Prep. Time: 1 hour and 40 – 50 min. Serves up to 5 people. 

Ingredients
2 leeks
500gr beef
1 onion cut in small pieces
3 scallion in pieces
1 cup red wine
salt
black pepper
paprika
1 cup tomato juice
½ cup of water
fresh oregano also for garnish

Beef &Leak-18 Beef &Leak-15 Beef &Leak-11

Method
Take a large pot and put some olive oil, just to cover its base. Cut the beef in small square even pieces and put it in the pot. Let it sauté completely and throw in the onions. Sauté them too and add the spices along with the tomato juice.

Add the water and let the meat be cooked and softened about 30 – 40 minutes. Check often if it needs more water but also if it starts being tender.

Cut the leeks in half and wash them good. Cut them in 1 cm slices. Add them in the pan and let them soften with the meat for about 30 minutes. Check if the food needs more salt.

Put the food in an oven dish and cook for 30 minutes more till completely tender and soft.

Garnish with fresh oregano end enjoy!

Beef &Leak-16     Beef &Leak-13    Beef &Leak-14

Beef &Leak-9 Beef &Leak-6

Mushroom Thyme Crostini

Perfect Christmas appetizer for your guests. It is guaranteed to keep everyone happy and satisfied till the main dish comes. Also perfect for a friends night 🙂 Use fresh and good quality mushrooms, along with the best baguette you can find. Alternatively, you can put the bread in the oven and bake it, but grilling is faster and for me always tastier. You control your bread more and you save enough time so you can also enjoy the evening!


Crostini-16

Equipment: grill pan, frying pan

Prep. Time:30 min, Serves up to 10 people

Ingredients
1 white baguette cut in thin slices
400gr white mushrooms
1 red onion
3 cloves of garlic
3 tbsp olive oil
salt
ground black pepper
fresh thyme Crostini-18 Crostini-15     Crostini-13     Crostini-19

Method
Take a frying pan and set in medium heat with 1 tbsp olive oil. Cut the onion in the smallest pieces you can and put them in the pan. Let them take their juice out for about 4 min. Cut the mushrooms is small pieces and add them in the pan. Stir well and let them fry for about 7 to 8 min.

When the mushrooms have decreased in size, season them with salt, pepper and some fresh thyme. Leave them for about 2 more minutes cooking and then set aside.

Take a grill pan – or you can also put them in the oven for about 15 min – and set in medium heat. Spray the baguette slices – or brush them – with the rest of the olive oil (2tbsp), sprinkle with salt and pepper and set them on the grill pan. Grill each side till golden brown, approximately 5 min.

Set the crostini on a wooden platter and add on top 1 tbsp of the mushrooms. Sprinkle with some extra fresh thyme. Serve freely to your guests! A bottle of Cabernet Sauvignon and the night is yours 😀

Crostini-12    Crostini-10    Crostini-8    Crostini-7    Crostini-6    Crostini Crostini-2

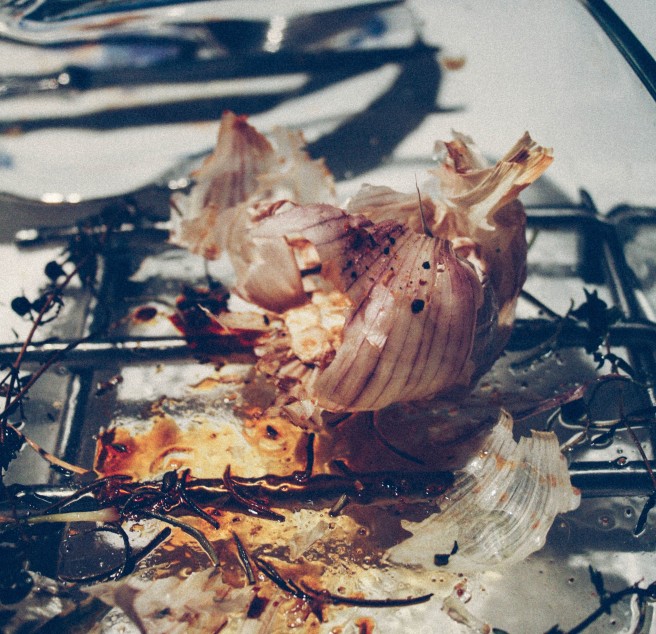
Honey Roasted Parsnip and Garlic

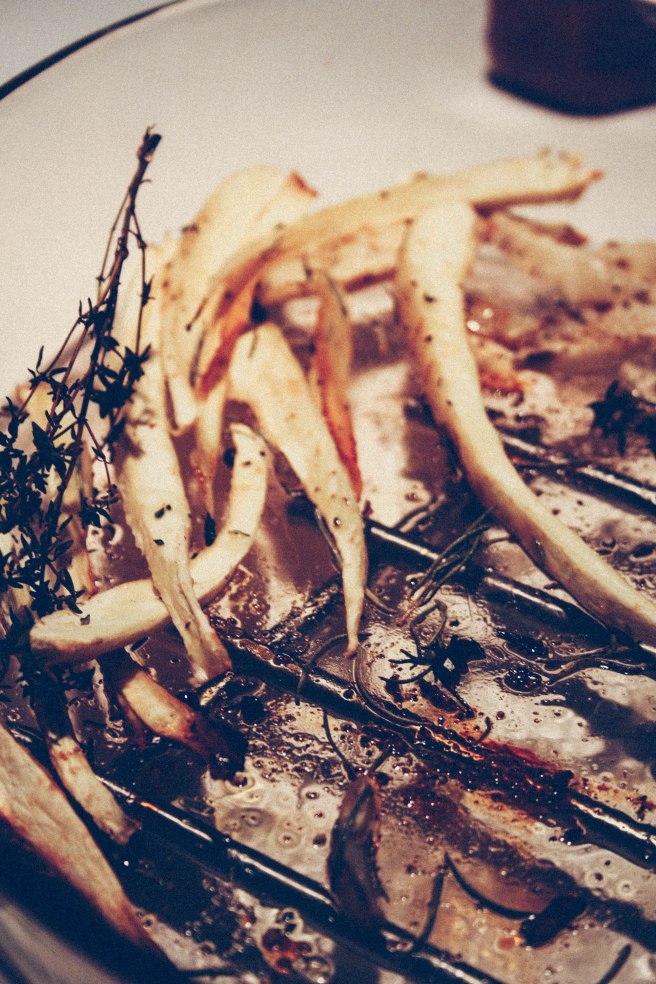
For those who might don’t know – because I also didn’t know – parsnip is long tapering cream-colored root with a sweet flavor, similar to carrots – but still with a unique taste. Parsnips are now in season which means you can find them easily. They are great raw, as a side dish or just plain with some yogurt. Roasted Parsnip are very easy to prepare, since you only need to peel and clean them and just throw them in an oven dish!

roasted-11

The same is for the garlic head, a recipe I saw on television years ago and since then I do it every time I’ m bored to do anything else or if I want to serve grilled bread with an awesome, super easy and natural spread. The honey with the olive oil and the fresh spices work so good together. Sweet and salty roasted veggies and garlic → we love! This time I served my roasted goodies with some grilled zucchini sprinkled with Gruyère cheese and fresh oregano.


Prep. Time: 40 min, Serves 4 people.

Ingredients
2 big parsnips
1 whole garlic head
3 tbsp honey
4 tbsp olive oil
fresh thyme
rosemary
fresh ground black pepper
sea salt

roasted roasted-5 roasted-4          roasted-3
Method
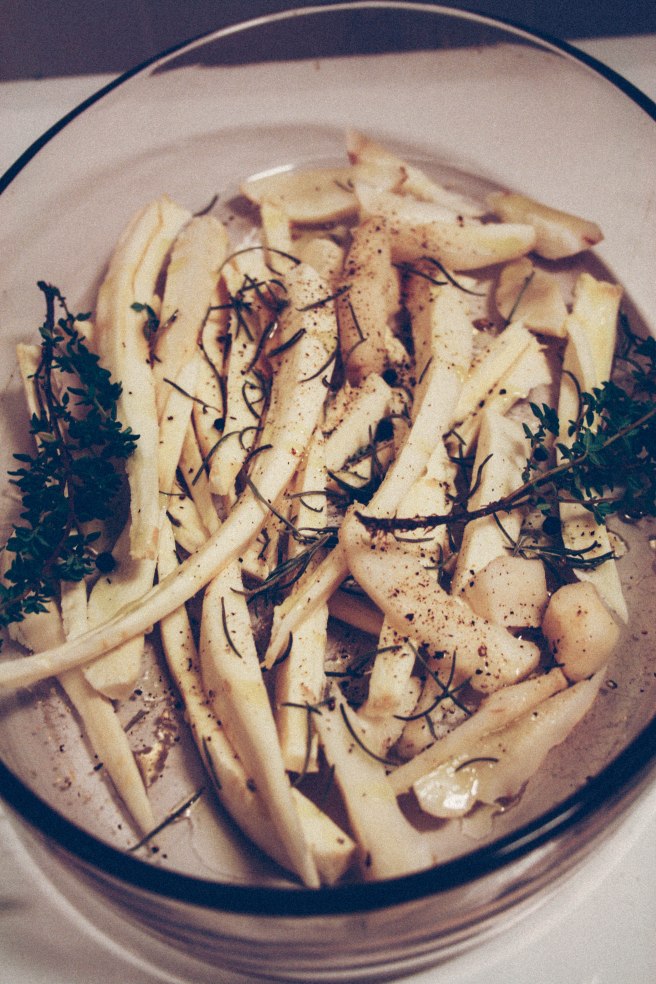
Peel and clean the parsnips. Cut in 1cm long pieces and put them in an oven dish. Sprinkle with olive oil and honey. Add the spices – thyme, rosemary, pepper, salt – and set in the oven for about 30 min in medium heat to roast.

Check them often and mix with a wooden spoon so that all pieces will be evenly roasted.

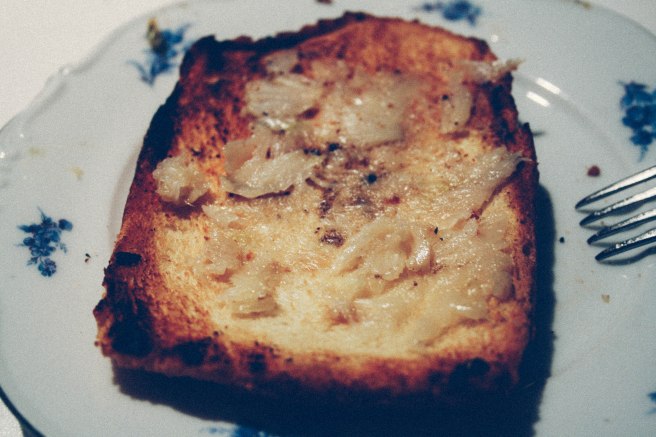
Do the same with the garlic head and let it roast also for 25-30 min. Cover with some aluminium foil. When it has cooled down take some grilled bread and just push the garlic cloves with your hands. The inside will be soft and very easy to spread. Enjoy it with some white wine!

(the results below are half eaten 😛 – so good they were I couldn’t stop myself for pictures!)

roasted-12 roasted-10 roasted-8                 roasted-7            roasted-6

White Giant Beans in the Oven (Gigades)

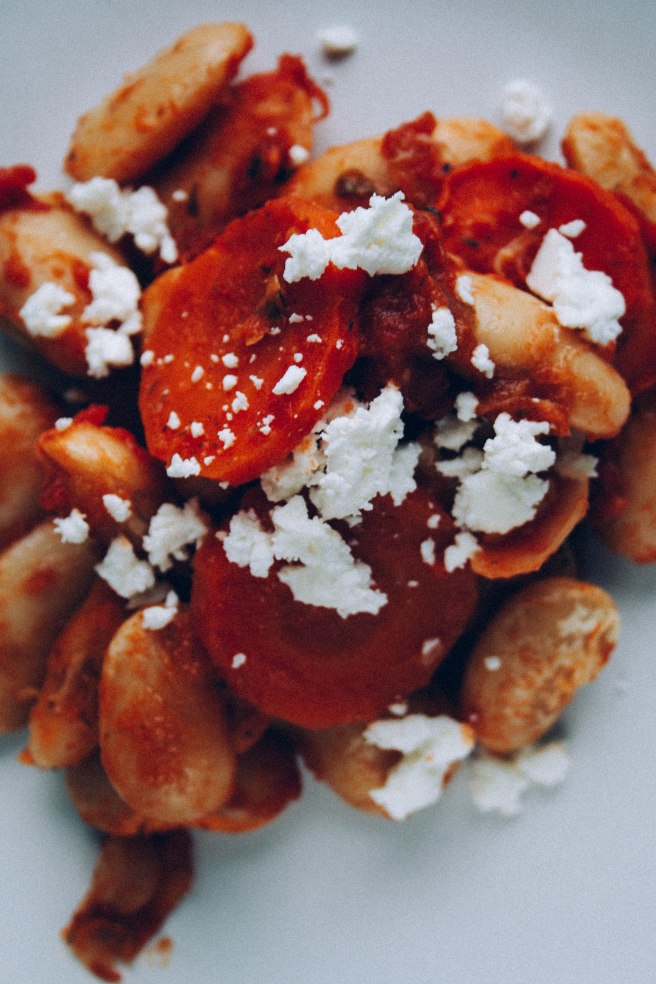
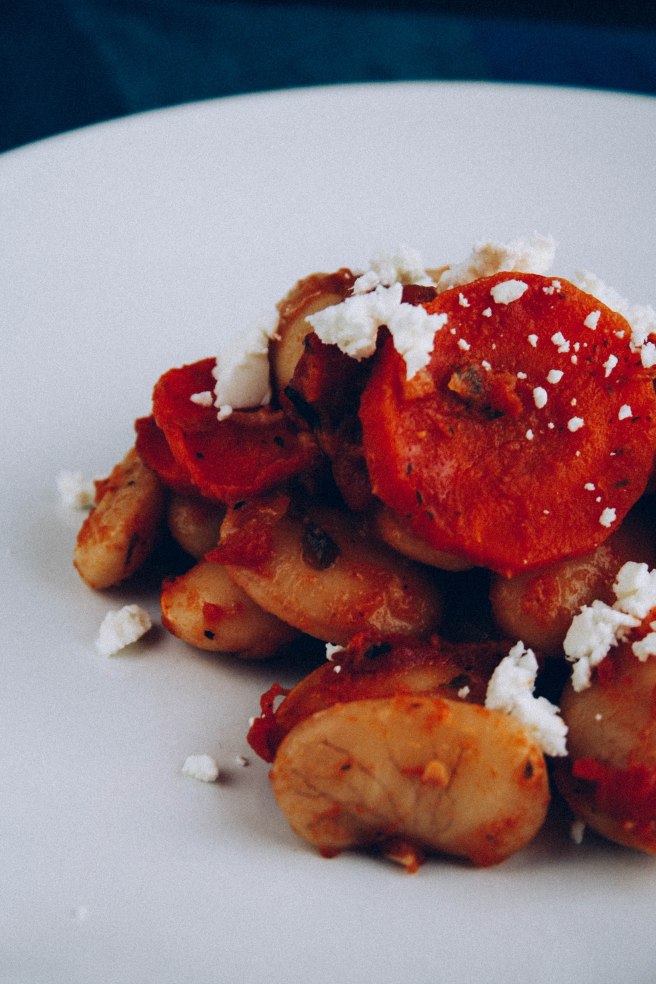
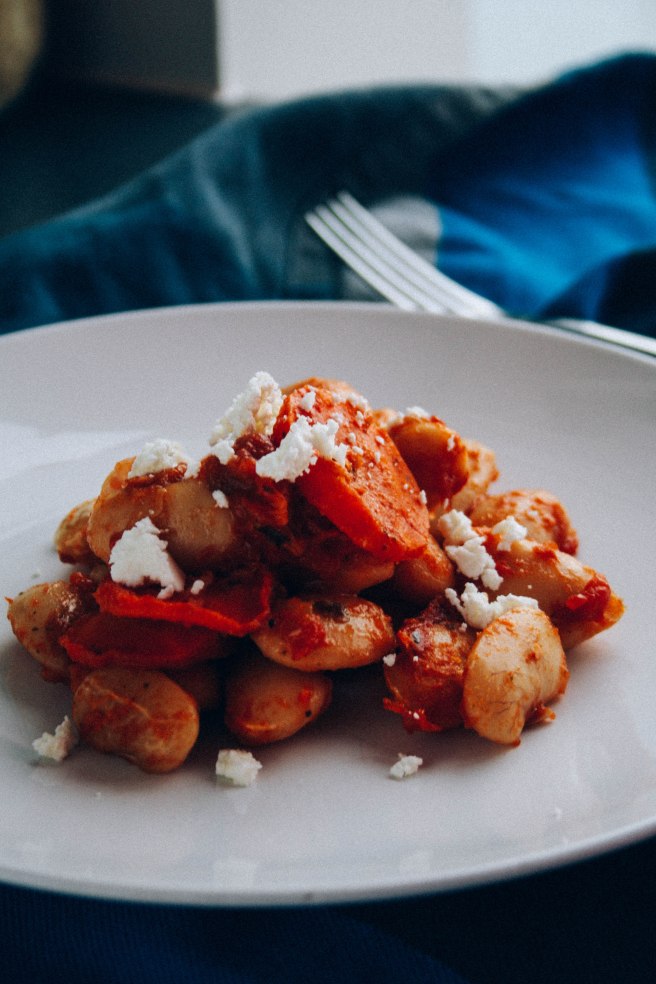
This recipe belongs to the original traditional Greek category. In taverns you mostly get beans as a small meze with tsipouro or ouzo, but you can also cook them at home as a main dish, put them in salads or soups. I used white “gigades” beans (gigades means giants in Greek) from Prespes, a famous for its natural beauty mountain lake region in northwest Greece’s borders with Albania and FYROM. It has been named a “Landscape of Outstanding Natural Beauty” and it is considered a wetland of international importance.

gigades-14 gigades

They are famous there, not only for the natural environmental beauty, but also for their quality beans, which means they are not at all gassy as someone would expect and they are full of unique savory flavor. This recipe takes quite a time and needs a lot of attention and devotion, but be sure that it’s worth it! When boiling them use only wooden spoon and never add salt before they are completely boiled, otherwise it can stop the boiling process. Read carefully and enjoy!


Prep time: at least 1hour and 40 min. Serves up to 6 people.

gigades-9    gigades-7    gigades-6

Ingredients
600gr white giant beans of Prespes
1 big carrot cut in slices
1 cup tomato juice
1 white onion
2 garlic cloves smashed
1/3 cup olive oil
pepper
salt
paprika
1 teaspoon dried mint
1 teaspoon parsley
some feta/yogurt

gigades-5     gigades-4

Method
The evening before you cook the beans put them in a bowl and cover them with water. Let them rest. You will see the next day that they have absorbed all the water and they have doubled in size. Add some more before you go to work.

Take a big soup pan and put the beans in. Use only wooden spoon. Add water just to cover them. Add the onion full or cut in half – not smaller. Boil in medium heat till the beans are soft, 30-40 min. Do not add any salt, it will stop the boiling process and you will end up having hard beans. Try one bean and see if you can chew it. If it is not soft enough keep on boiling the rest. Add only boiled water when needed.

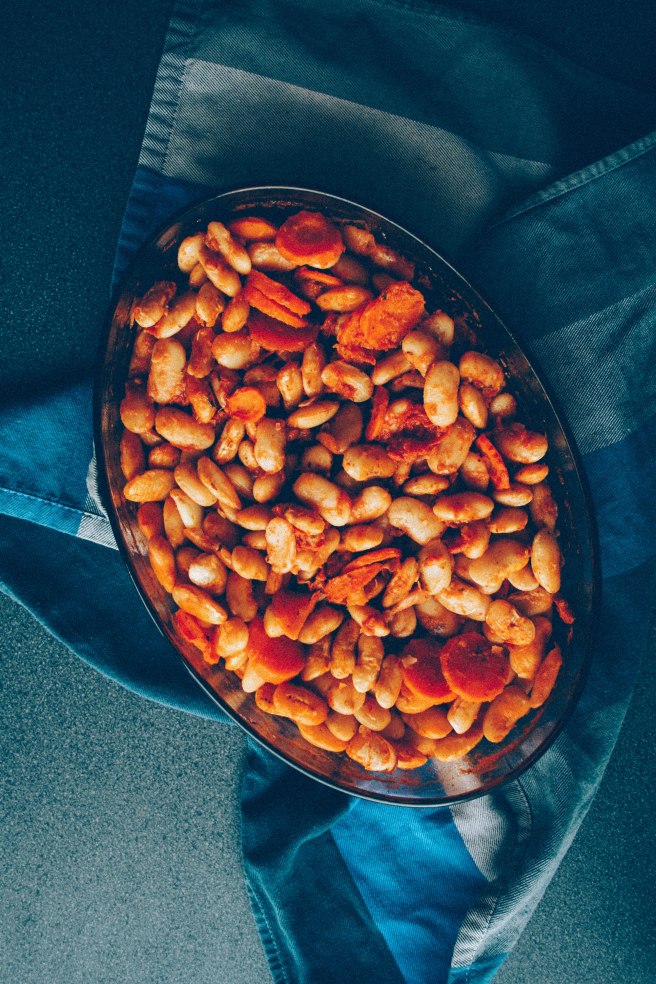
After they are boiled, transfer them in a big glass oven dish. If there is too much water, take some out. You need to have at least 1cm water in. They will need it for in the oven. Take the boiled onion and mash it in a blender.

Add the carrot, mashed onion, tomato sauce and garlic in. Sprinkle generously with salt, pepper and paprika. Add the mint and parsley and finish with the olive oil. At this point you can also add some sun-dried tomatoes for extra taste. Mix everything together. If you think more olive oil is needed, add some.

Bake it in the oven for 30-40 minutes in 200°C . Check it often because you don’t want it to be dry. If more water is needed, don’t be afraid to add. When it is cooked and all flavors are combined – always try it before turning off the oven – take it out, leaving some water in. This water will be still absorbed and give an extra moisture to the food.

Serve with some feta or Greek yogurt.

Enjoy!

gigades-3     gigades-2gigades-11

Mango Lemon Tarts

Holidays are coming fast this year and I haven’t even realized it. I am always so late with these things, I always remember last moment to buy a tree and decorate a little bit. But this year I just like keeping it jolly first and foremost in the kitchen by trying new recipes! Constant baking and cooking, baking and cooking.

12122014-14

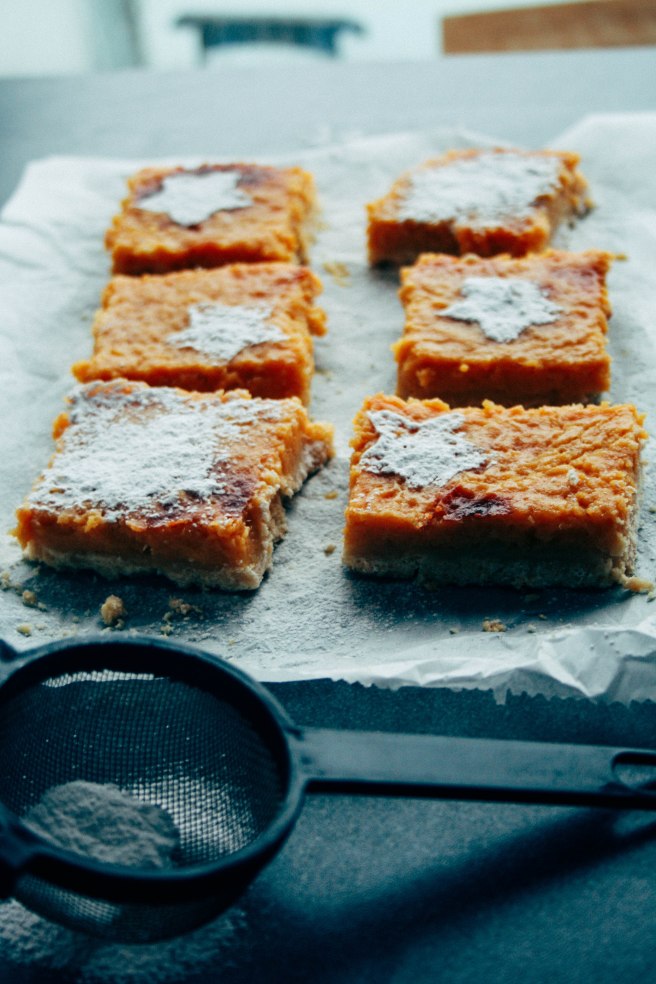
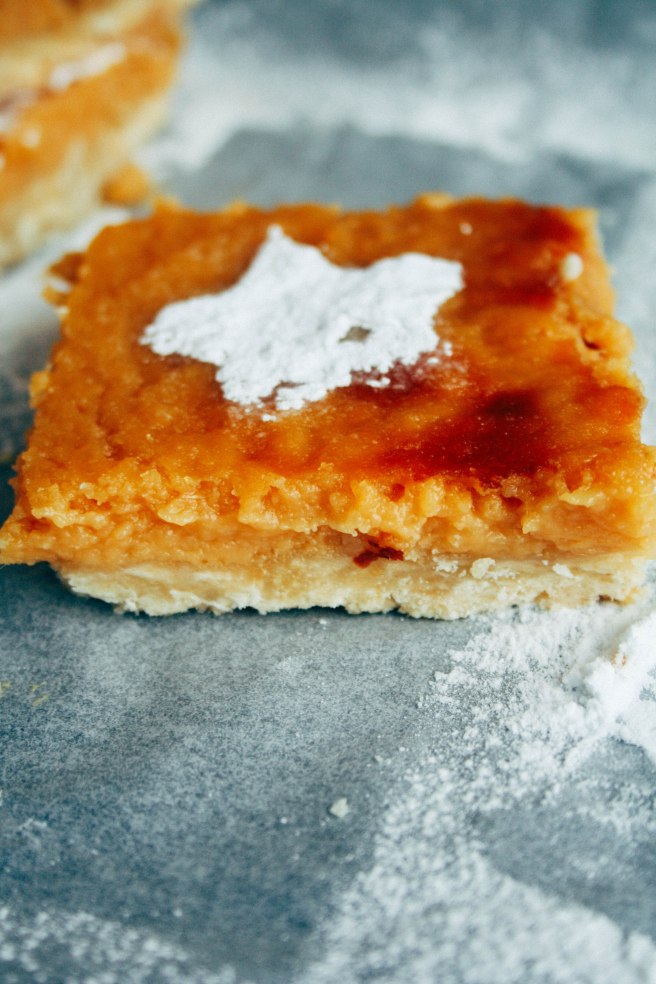
This time mangoes took most of my free time in baking. I know it is hard to find them in winter in many countries, but if you stumble them in some market (or try to search for a local supermarket that might import them), please take a chance to make this recipe. You will love it! It is a classic lemon tart recipe with mangoes added! The result is not only fresh and light, it is also very cool to do for Christmas! Your guests will be astonished by it, since it is not common to make as a Christmas dessert.


Prep Time: 30 min, Serves: 8-10 square tarts

Equipment:
parchment paper
20×20 cm pan
wand mixer
medium saucepan
bowl for mixing

12122014-26 12122014-8

Ingredients
For the crust:
½ cup melted butter
1 ½ cups flour (all purpose)
2 teaspoons lemon juice
1 tbsp sugar
½ teaspoon salt

For the mango lemon curd:
¾ cup mango pulp*
⅓ cup lemon juice
1 cup sugar
4 eggs
2 egg yolks
zest from 1 lemon
½ cup butter

12122014-17 12122014-10 12122014-12 12122014-24            12122014-4

Method
Begin with the crust. Preheat oven to 175°C. Mix together the flour, lemon, sugar, and salt. Pour in the butter and use a spatula, a spoon or your own hands to pull into a ball of dough.

Use a 20×20 cm square pan lined with parchment paper, press the dough from the middle and work towards the edges with your hands. Use a fork to poke the dough in order to avoid air bubbles. Bake the crust for 10 minutes.

Meanwhile, it is time for the mango-lemon curd. Whisk together the eggs, yolks, and sugar. Add the mango pulp, lemon juice and lemon zest. Stir good until fully incorporated.

In a medium saucepan in low heat, stir the curd constantly until it is thick enough to coat the back of a spoon, 6 to 8 minutes. If you notice any clumps on the sides or coming up from the bottom remove from heat at once. Then strain the curd to remove the lemon zest. Add the butter in thin slices while the curd is still warm.

Pour the curd into the crust. Bake the tart at 175° C for 10-15 minutes. The outer edges will be ready, the inner will still jiggle slightly.

Keep in the refrigerator, after it has cool down first, for at least 3 hours or overnight. Serve chilled with sprinkled powdered sugar!
Enjoy!

*Just use a wand mixer to puree the mango easily

12122014-13 12122014-22

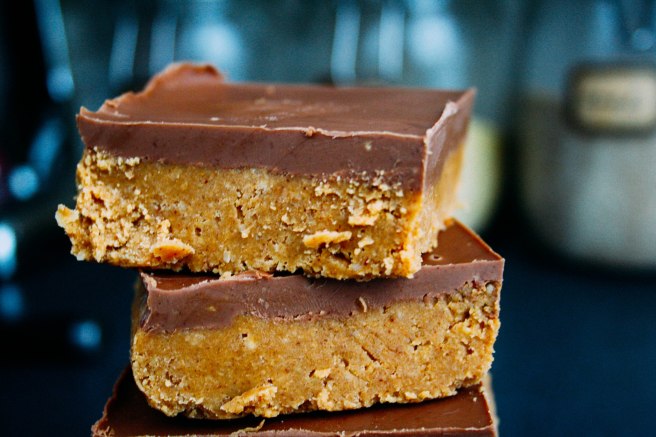
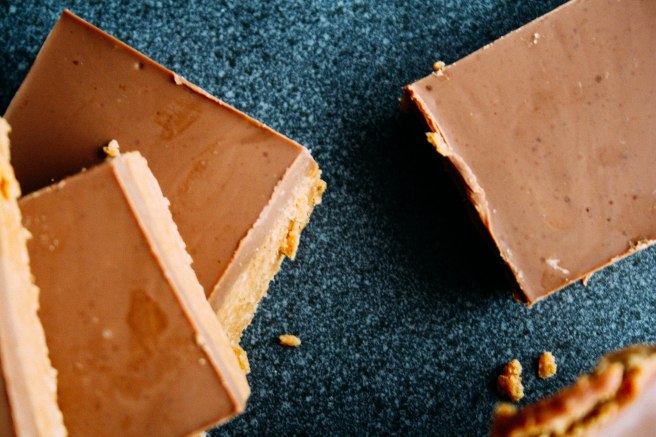
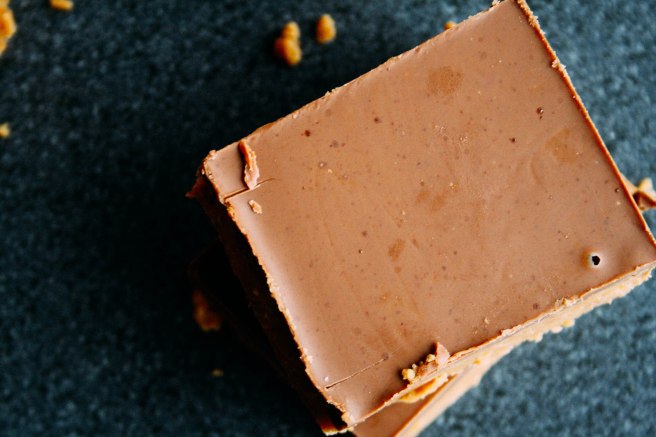
Peanut Butter Chocolate Bars

What can be said for this recipe? You don’t really call it healthy or fat free! But its taste is indescribable. Chocolate and peanut butter are very (very) good friends and they melt perfectly together in your mouth… And now that the Holidays are coming, you need some more comfort & fat food in order to enjoy the Christmas spirit fully right? A great dessert made with love for your friends and family. So, off you go to make this super easy recipe that leaves NOBODY untouched. You don’t even have to use the oven! It can be served with ice-cream, alone, as a dessert or with your evening coffee.

12122014-4412122014-32


Prep Time: 15 min & 3 hours for cooling. Serves 15 pieces or more if you cut them smaller.

Ingredients
120gr salted butter, already melted
1 cup whole-grain biscuits in crumbs*
120gr powdered sugar
200gr creamy peanut butter – plus 2 tbsp extra
180gr semi-sweet chocolate chips, bitter or milk

12122014-27    12122014-28 12122014-29    12122014-3012122014-4612122014-3912122014-37    12122014-36

Method
Fill a small baking pan, preferably square, with aluminum foil. I used a 22×14 cm one and it turned out OK because it was deep enough. You can use a 20×20 cm or a 22×22 one. You choose. In the smaller they would be taller. It depends on how big you want them. Set aside.

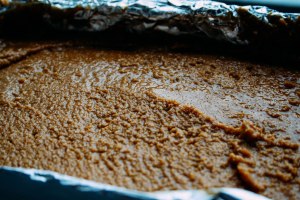
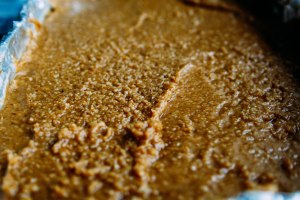
In a medium bowl mix the melted butter, the whole-grain biscuits crumbs and the powdered sugar together until combined. Stir in the 200gr of peanut butter. Spread into the prepared baking pan.

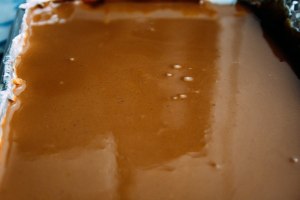
In another smaller bowl put the 2tbsp of peanut butter along with the chocolate chips. Microwave them in the highest level until melted for about 2 minutes. Stir until smooth. Spread over the peanut butter layer.

Now you must let it chill until completely firm, for at least 3 hours. Before cutting the tarts into pieces, let them sit at room temperature for about 10 minutes. Serve them chilled. They can also last some hours out of the fridge. You can freeze them for 3 months.

Enjoy!

*Use a food processor to have nice thin crumbs

12122014-45 12122014-43 12122014-34 12122014-33

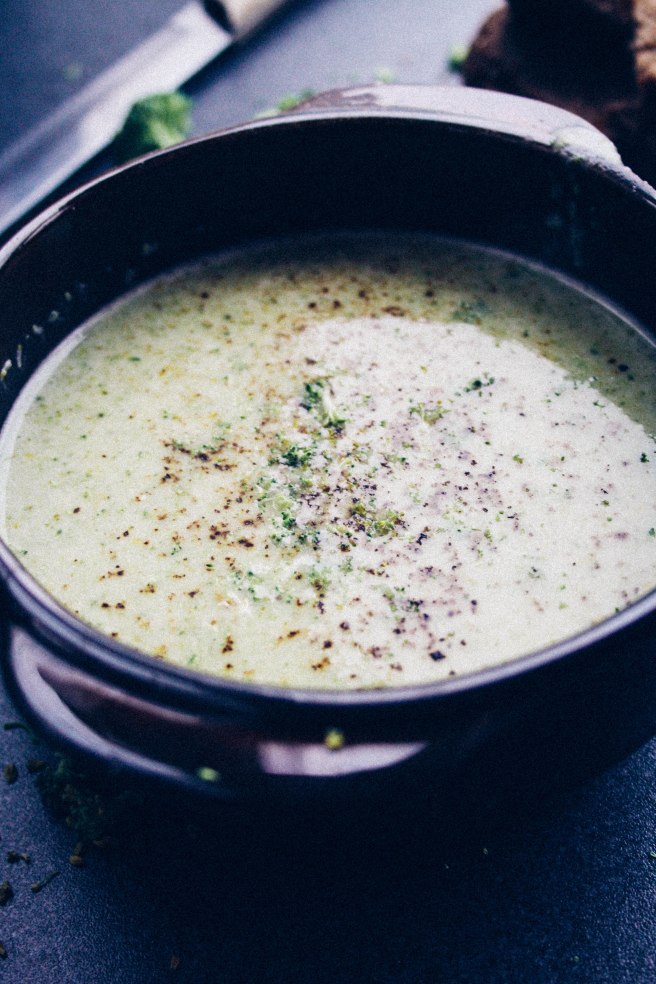
Broccoli Greek Yogurt Cheese Soup

Soups are always comforting in the winter. With some bread on the side, a glass of a good wine and the moment is fixed. Now is already the season of broccoli which means you can have good quality of roasted broccoli with cheese, in pastas, in quiches or as a side dish boiled with some lemon, olive oil, salt and pepper. Don’t be afraid to be original and try new stuff with a vegetable that is generally underestimated – especially now with the kale-mania that is all over the food-blogging world.

Broccoli Soup-27

Cheddar cheese and Greek yogurt give an excellent texture to this dish. You prepare it as you would make bechamel with the difference that here it needs to be quite thicker than normal because it is made for the soup. You can alter the doses of water in the broccoli but also in the cheese-yogurt sauce according to how thick you wish the soup to be.


Broccoli Soup-3    Broccoli Soup-2Broccoli Soup-6    Broccoli Soup-4

Ingredients
2 tbsp salted butter, divided
2 garlic cloves, minced
2 cups broccoli, florets and stems
1/4 tbsp salt
2 cups vegetable stock
1 tbsp flour
1/4 cup full-fat Greek yogurt
1/4 cup warm water
1/2 cup shredded cheddar cheese.

Broccoli Soup-10 Broccoli Soup-13    Broccoli Soup-12

Method
Heat a medium saucepan over medium heat and melt half the butter, so 1tbsp. Add the garlic and cook for 1 to 2 minutes, until the garlic is fragrant.

Wash the broccoli good and cut it in small pieces. Use florets and stems. Stir in the broccoli until it is coated in butter. Salt freely, about 1/4 tbsp.

Reduce heat to low, cover with the lid, and steam until the broccoli turns bright green, for approximately 5 to 7 minutes. Add the vegetable stock and cover again.

In a small, nonstick sauté pan, heat the rest of butter until it is melted. Add in the flour and mix it until it is fully incorporated and cook until the flour turns golden for about a few minutes.

Throw in the Greek yogurt followed by the warm water. Whisk firmly until it becomes a thick sauce. Add the cheddar cheese and whisk until the cheese melts. Turn off the heat.

With a wand mixer puree the broccoli till smooth. You can leave some stems untouched for decoration. Add the thick bechamel in and stir well till everything is blended. Add some extra salt and pepper and alternatively some Cheddar cheese on top for extra taste.

Enjoy it with pieces of fresh bread!

Broccoli Soup-28 Broccoli Soup-25 Broccoli Soup-16